Before you start :
To fully understand what we are going to see here, I encourage you to read this article which explains how revisions work in SOLIDWORKS Connected :
👉 1. Create file versions/revisions
Watch out!
Before doing this, you need to have correctly defined the revision format you wish to use in the 3DEXPERIENCE platform.
Okay, now that you’re well informed, let’s get started!
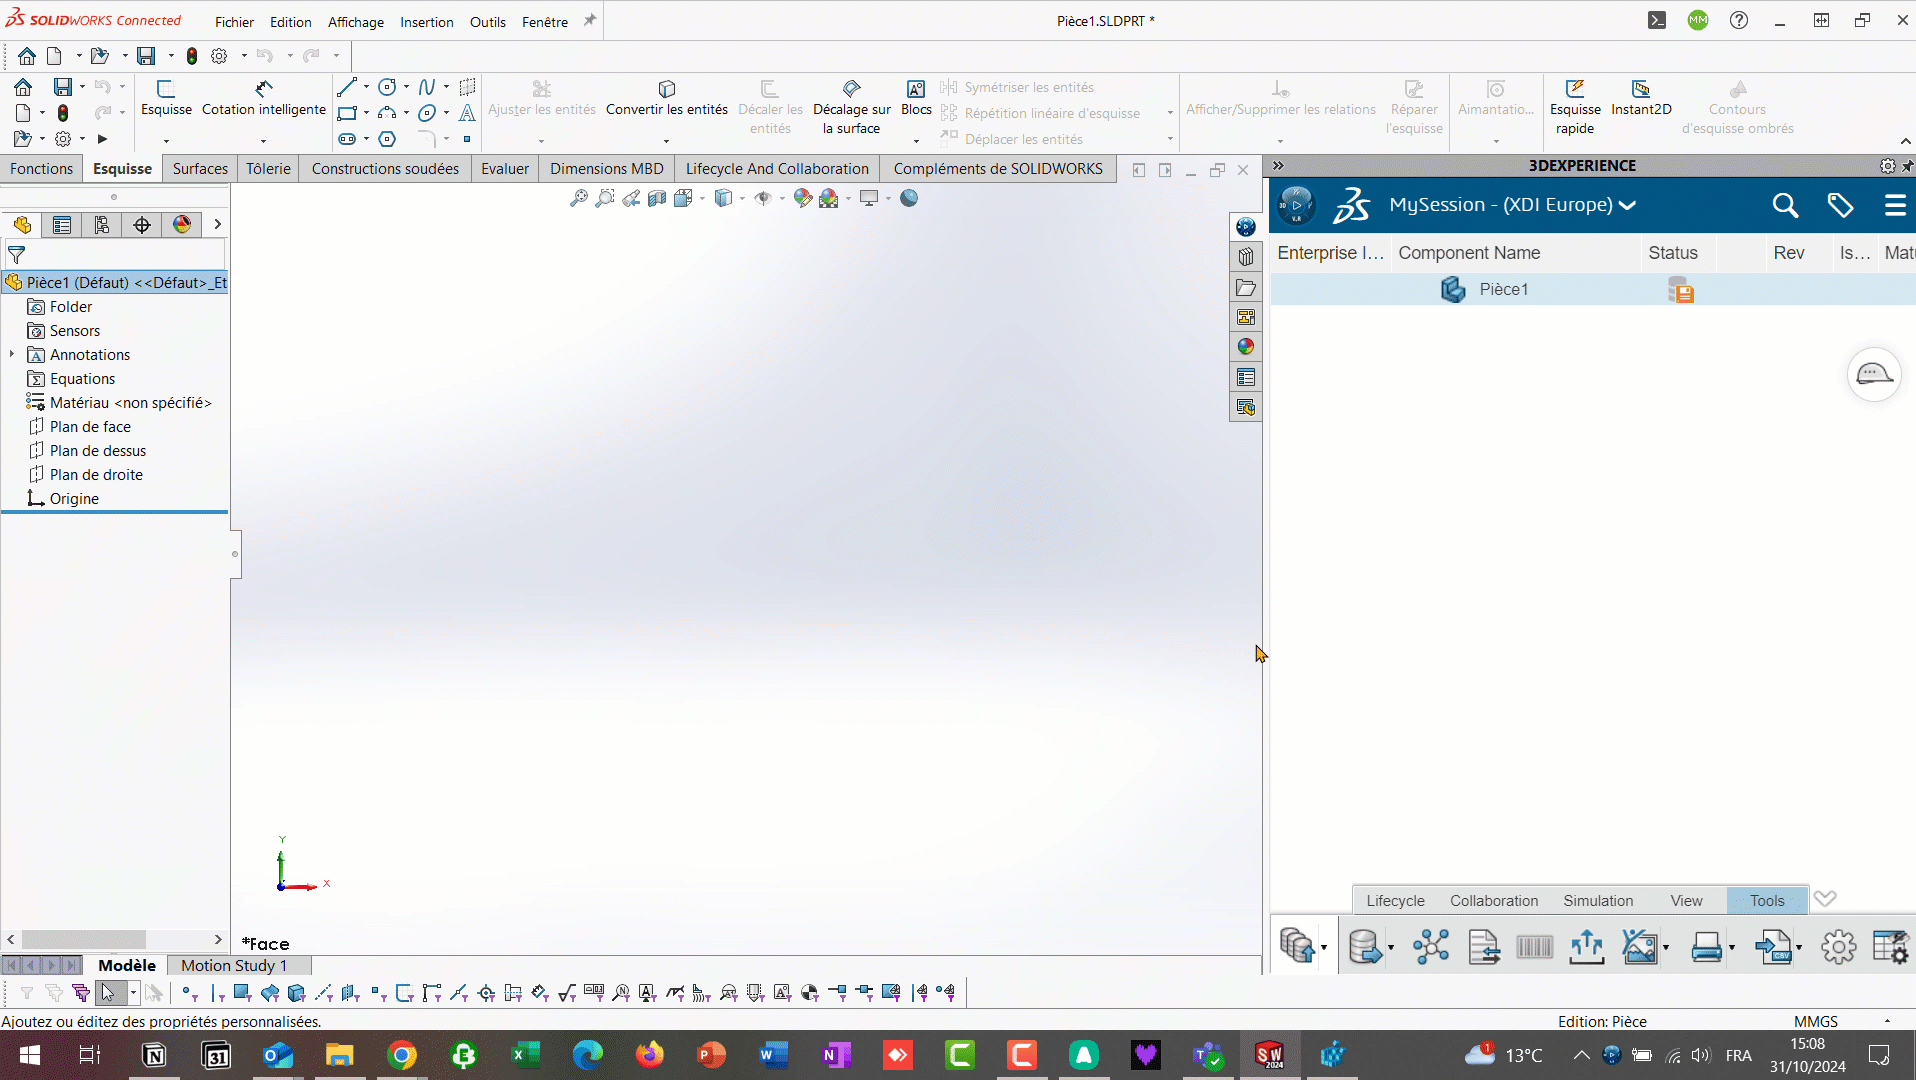
Step 1: Display the option in SOLIDWORKS
To be able to select a particular revision when registering on the 3DEXPERIENCE platform, you first need to display the field used to define it.
- Go to the Registry Editor (look for the name in Windows)
- Follow this path:
HKEY_CURRENT_USER\SOFTWARE\Dassault Systemes\SOLIDWORKSPDM - Add the following key by right-clicking:
Value name: FirstRevisionPropertyMapping - Right-click and modify:
Value data: 1
Base: Hexadecimal
This operation must be performed on each PC
Step 2: Create a property in SOLIDWORKS
Next, you need to define and fill in the property that will carry the revision value information.
Use a revision format for the value that matches the one chosen for the platform.
An error message will tell you if this is not the case.
Step 3: Declare this property as the holder of the revision index to be created
Finally, you need to tell the 3DEXPERIENCE platform which property it needs to read to find out the value of the revision.
- Open the 3DEXPERIENCE panel in SOLIDWORKS
- Go to Tools > Options
- In the Custom property used as revisions option (the last one), enter the name of your property
- Click on OK to confirm
- Save the part or assembly on the 3DEXPERIENCE platform
Any questions?
If you have any questions on this subject :
Contact us at support@ohmycad.com