Introduction
CATIA 3DEXPERIENCE works with a named license, which is linked to the user’s account (email). Once invited onto the 3DEXPERIENCE platform, each user will be able to install CATIA 3DEXPERIENCE on his or her computer(s).
Tip: CATIA 3DEXPERIENCE can be installed on as many computers as you like. It simply cannot be used on several PCs at the same time.
Prerequisites
We’ll tell you right away: if you have MacOS, it’s not possible to run CATIA 3DEXPERIENCE on it. You’ll need a certified PC – Windows partitions on a Mac may work, but are not certified by Dassault Systèmes.
On the Mac, you have access to the online 3DEXPERIENCE platform, but it can sometimes malfunction. So be careful.
You will need :
– Windows 10 or 11 Professional (no “Home” edition!)
– Chrome or Edge
– Your up-to-date Windows PC (remember this if your PC is new)
Hardware
With a PC-certified is better! You can check compatibility with test Cloud Dassault Systèmes.
Security
The 3DEXPERIENCE platform uses standard services for e-mail notifications, and all e-mails are sent via @3ds.com (e.g. 3dexperience@3ds.com). Your IT department should not block these e-mails or treat them as spam.
Step 1: Connect to the 3DEXPERIENCE platform
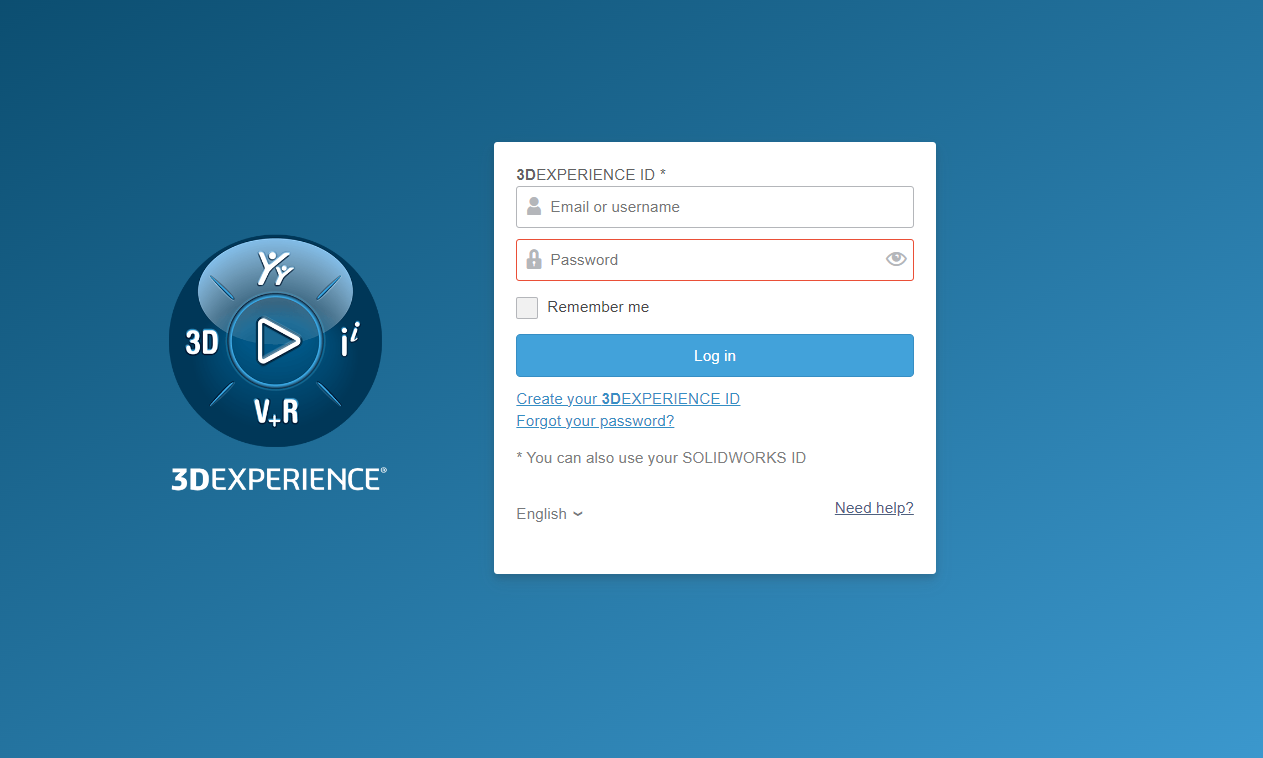
If you have never logged on to the 3DEXPERIENCE platform, you need to activate it. To do this, click on the activation link received by e-mail (from Dassault Systèmes and also sent by XDI).
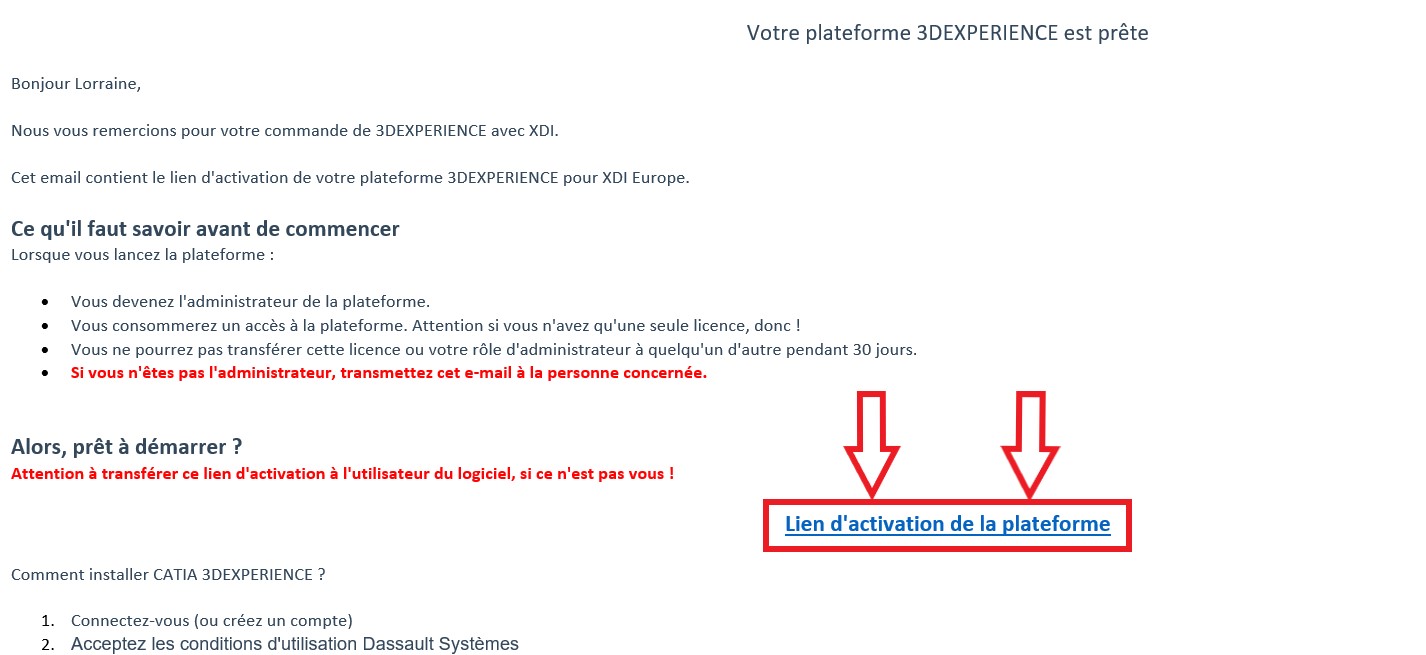
Log in (or create an account) to activate the platform.
Please note: clicking on the activation link assigns a role to the person logging in. If you’re not going to use 3DEXPERIENCE, don’t click on it and transfer it to the user.
If your platform has already been activated and you wish to retrieve it, use this generic link: https://eu1-ifwe.3dexperience.3ds.com
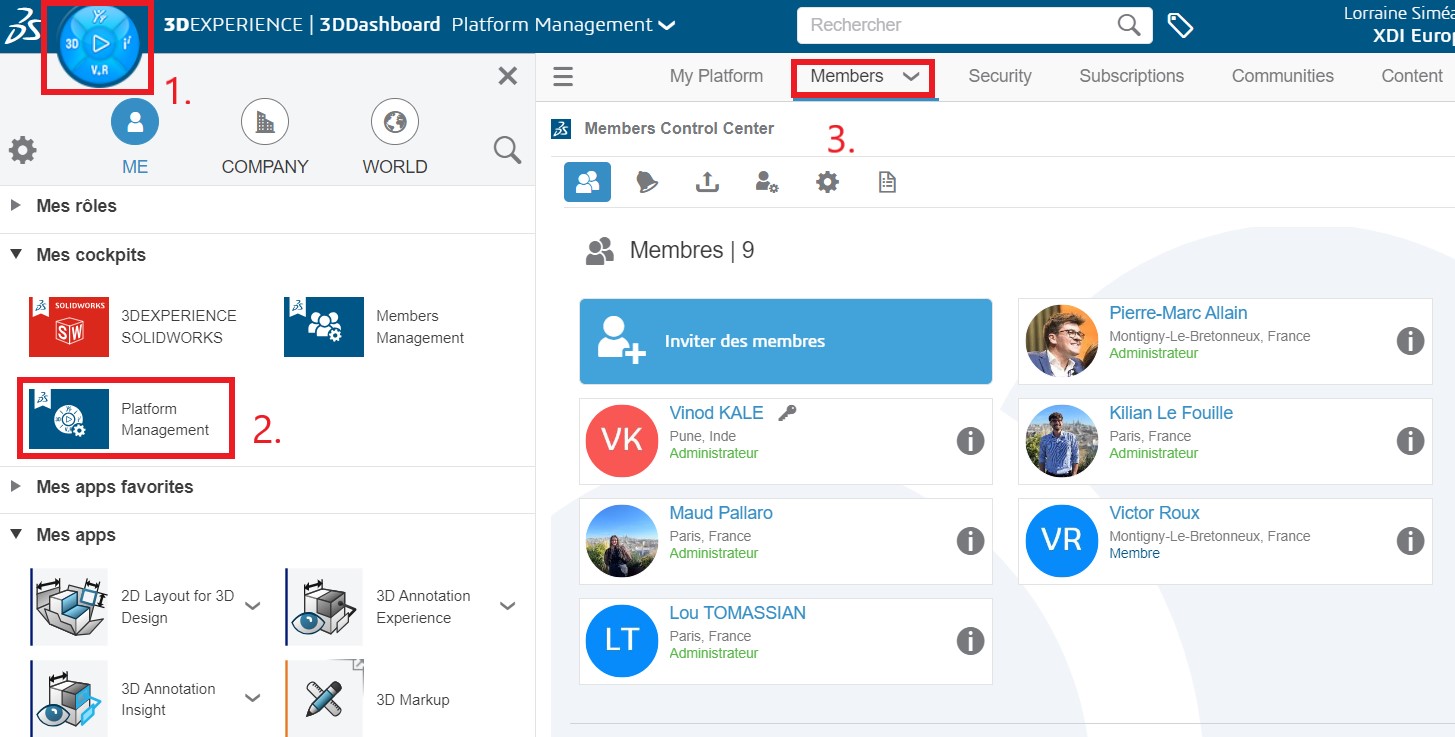
Step 2: Assign roles
If you have purchased a single access to 3DEXPERIENCE, roles are usually assigned automatically. Otherwise, they must be assigned by the platform administrator.
1. Go to the“Platform Management” dashboard (ADMIN dashboard), then to the “Members” tab, which lets you manage your platform members and their roles:
2. Then let’s assign the appropriate roles by clicking on the “i” of the role you’ve purchased:
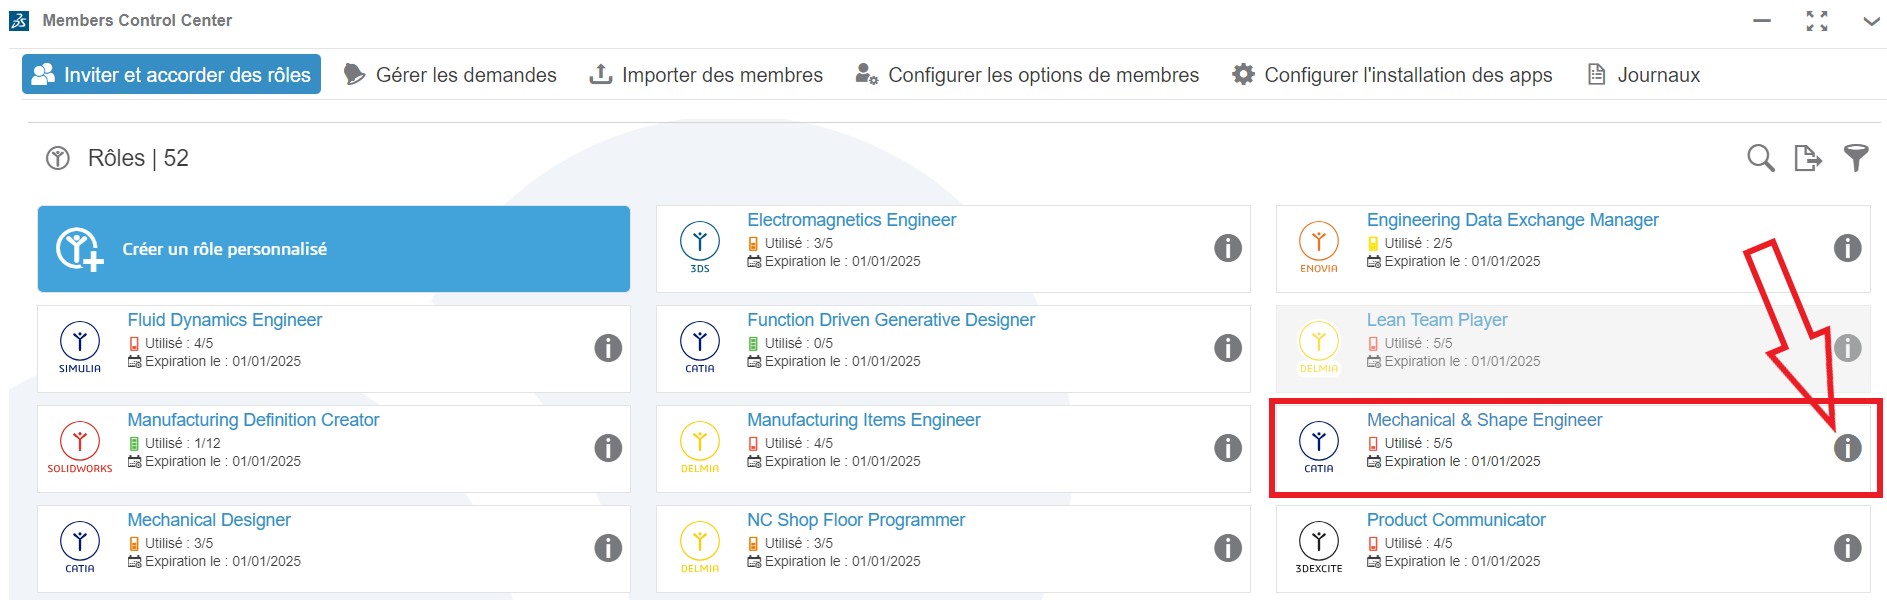
Note: in general, the main roles on CATIA are “Mechanical Designer” and “Mechanical and Shape Engineer”.
You can see which members have been assigned this role, and you can assign it to other members by clicking on “show all” :

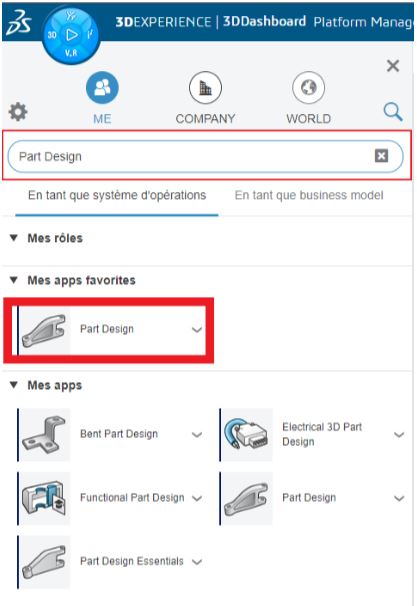
Once this has been done, the application is available in the “compass” (3DEXPERIENCE icon top left). Search for “Part Design”.
Step 3: Install CATIA 3DEXPERIENCE
Simply click on the application to start installation.
Note: you may be prompted to install the “Chromium Embedded Framework”. Don’t panic, just install it, and continue with the installation steps at the end of this article.
1. The Launcher must first be downloaded and installed:


2. Once installed, click “Continue”:

Select “install all granted roles” and follow the installation steps:

Step 4: Launch CATIA 3DEXPERIENCE
Click on the “Part Design” icon to launch CATIA 3DEXPERIENCE.
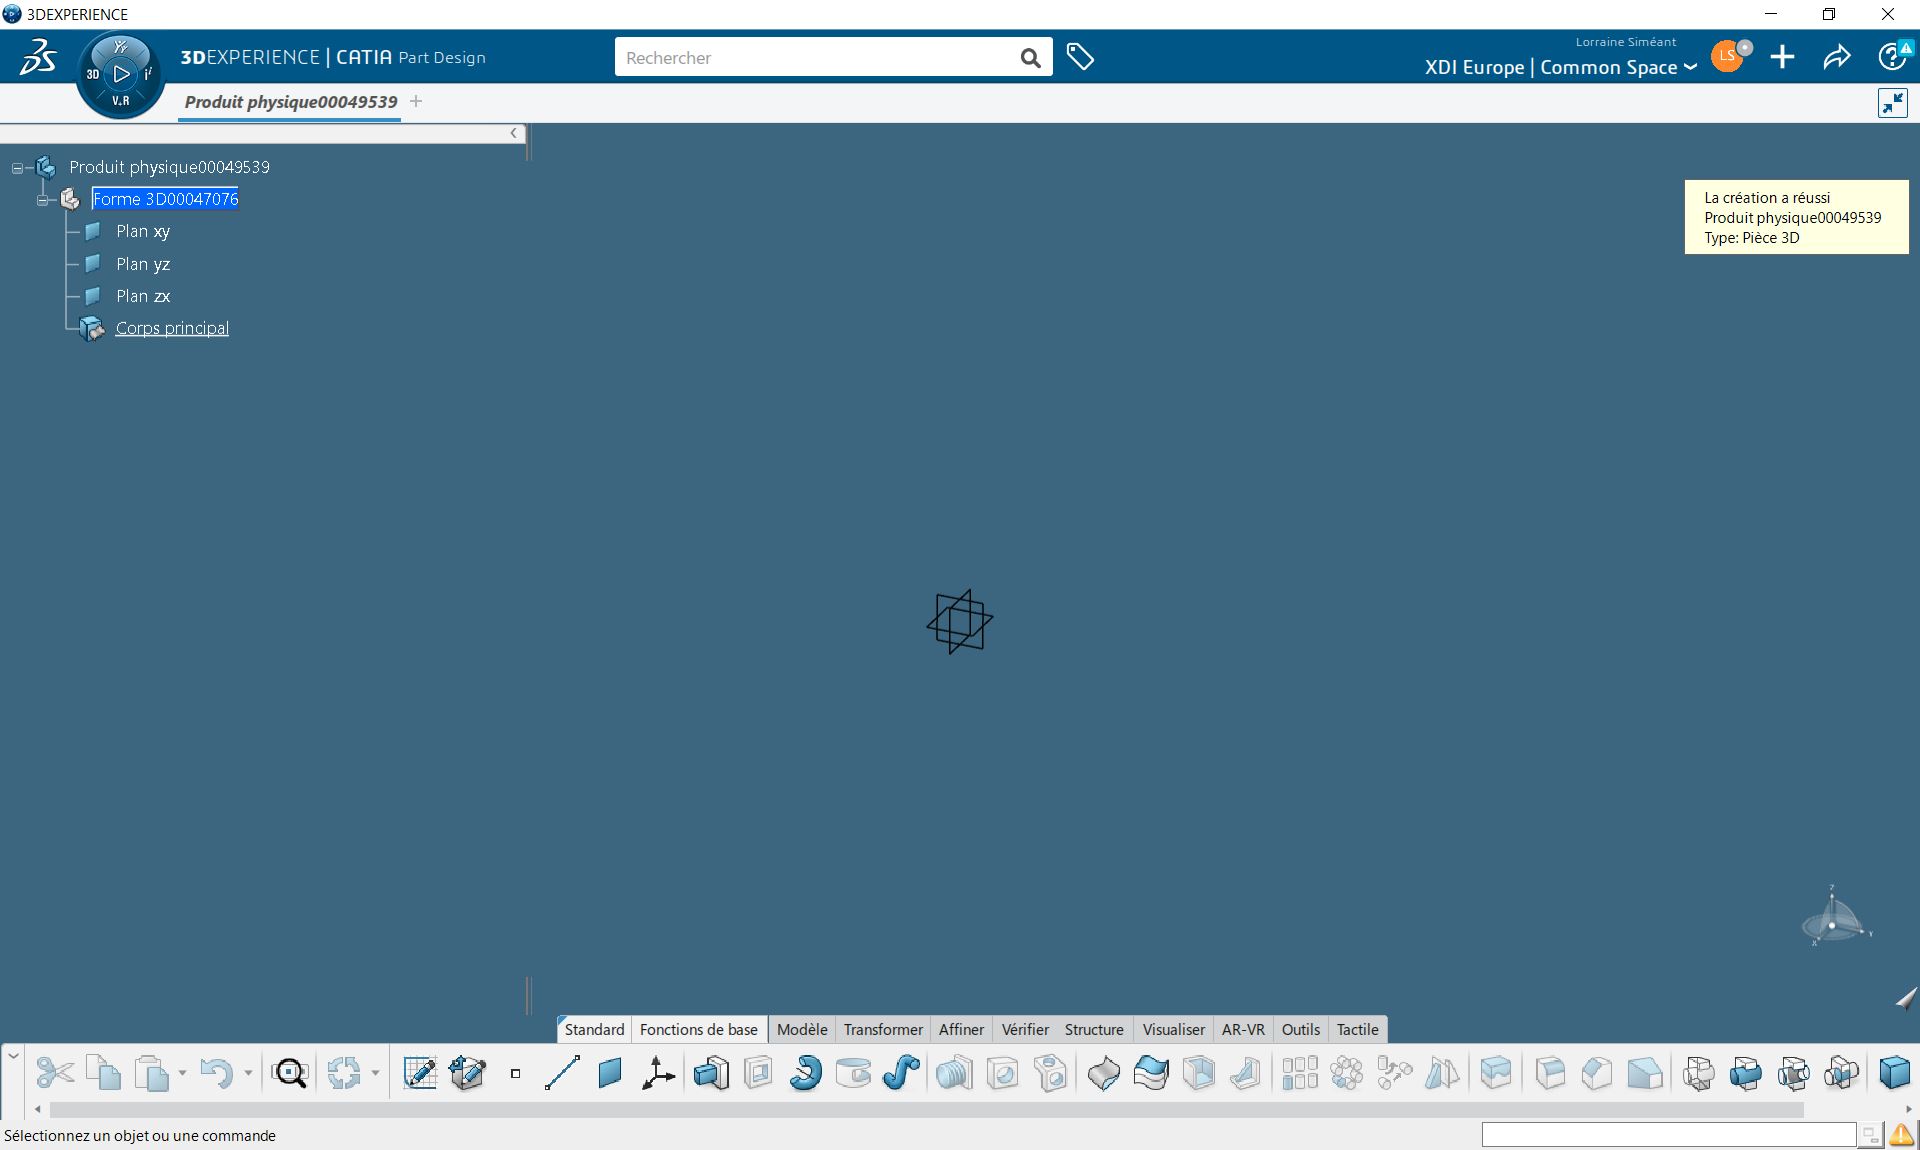
You’ll find the “Compass” in the application, in the same way as on the platform. Then it’s easy to use the other CATIA 3DEXPERIENCE applications!
Last step: planning the start-up session with XDI
After installation, make an appointment with an XDI engineer to get started with this new generation! What’s more, we promise to be super friendly.