Introduction
CAD data often has associated documents: BOM, data sheets, test results, assembly instructions…
It’s important to link these documents to the CAD file itself. But you may also need a secure place to store and manage the lifecycle of your documents!
3DEXPERIENCE offers a solution to these needs.
Method 1: the traditional method
Advantages: you don’t need to install anything extra
This is the OOTB method, offering an intelligent lock/unlock system for collaboration and lifecycle tools such as maturity and revisions.
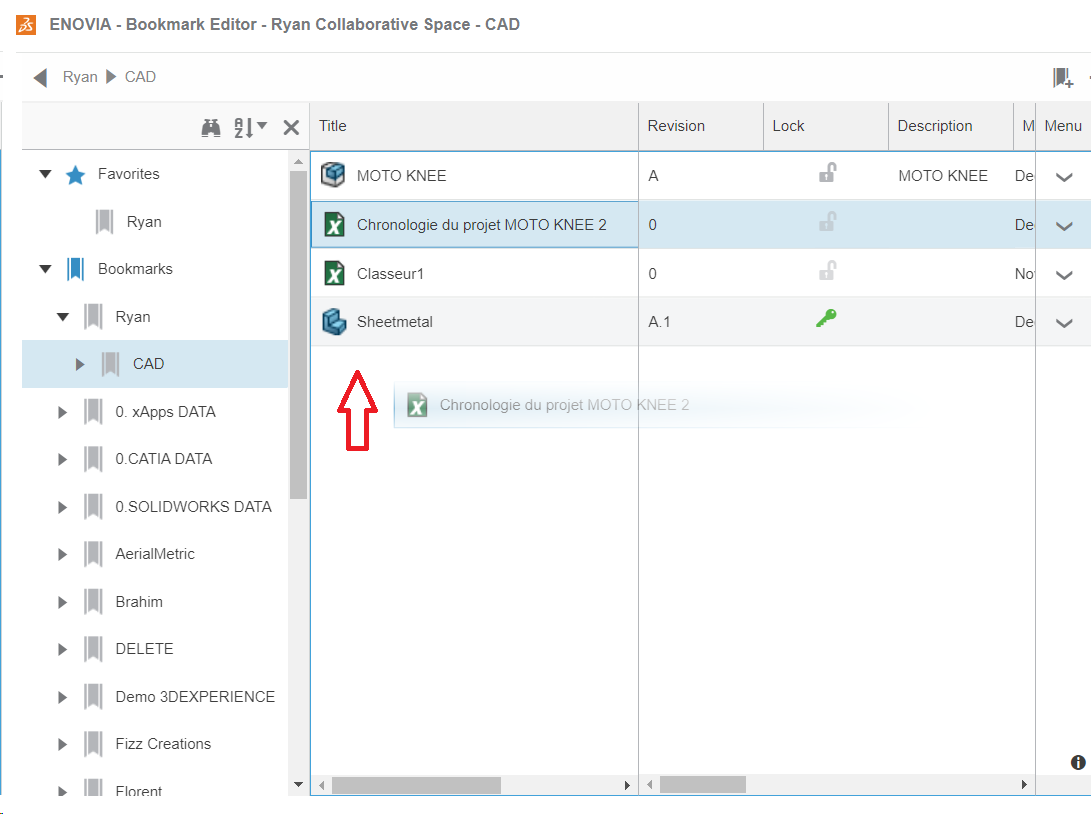
1. To import your document onto the platform, drag and drop it directly into the bookmark of your choice.
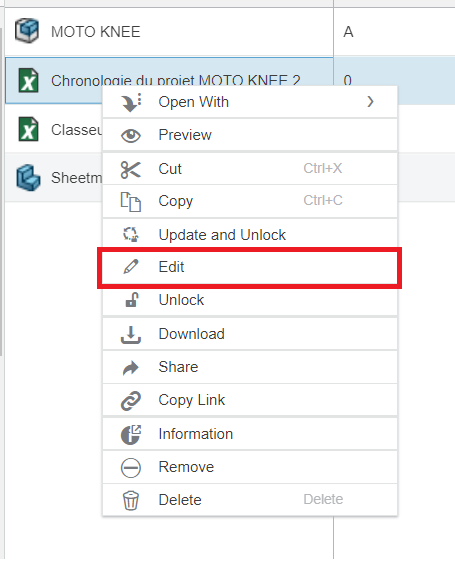
2. To modify the file, right-click on it and select “Modify”.
.
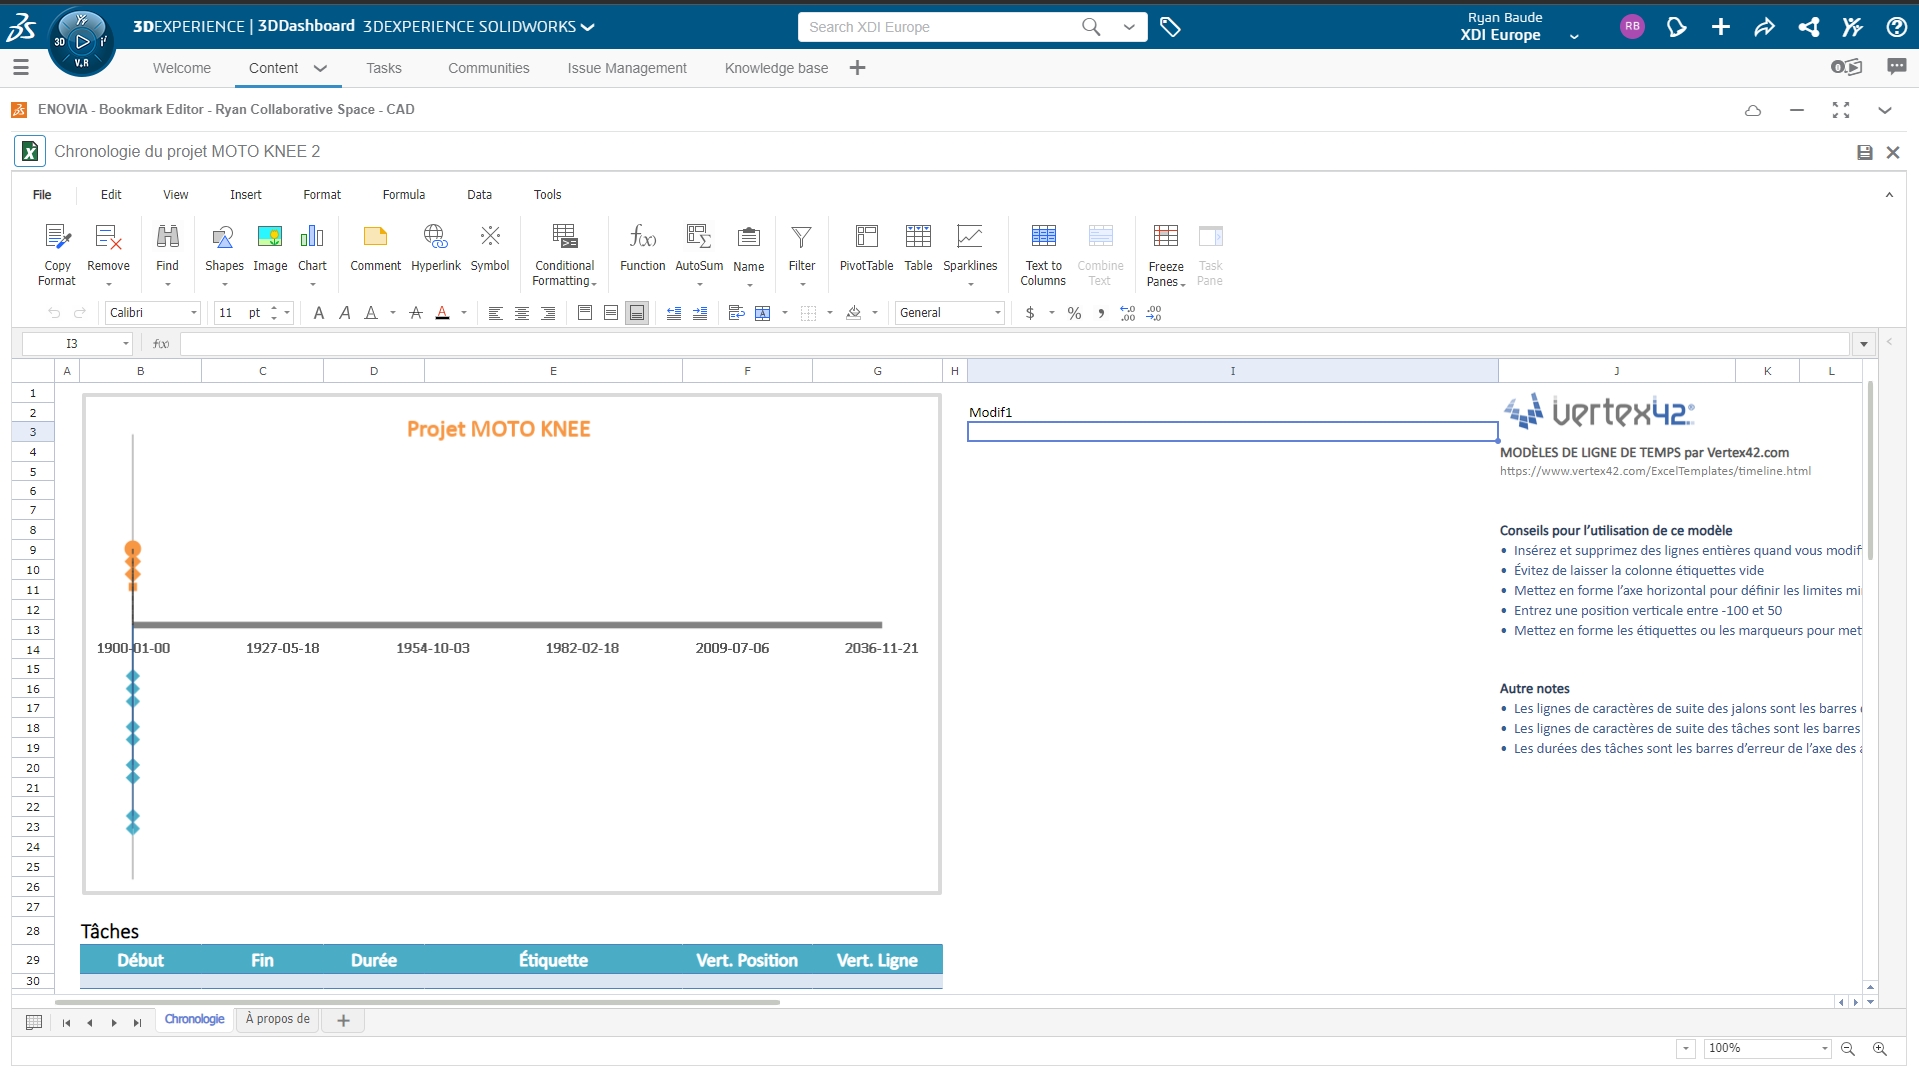
This will open a simplified version of the Microsoft application on which you can make small modifications.
3. To save the file, click on the save icon in the top right-hand corner.
Method 2: 100% integrated with Office
Advantages: it’s fully integrated with Excel, Word, Powerpoint… and lets you edit and save in the same way as in SOLIDWORKS or CATIA.
Thanks to the Collaboration for Microsoft connector, you can work seamlessly between your Microsoft Office applications and the 3DEXPERIENCE platform.
Step 1: Downloading and installing the software
1. First, let’s install the connector. Click on the compass and search for “Collaboration for Microsoft” in the search bar.
.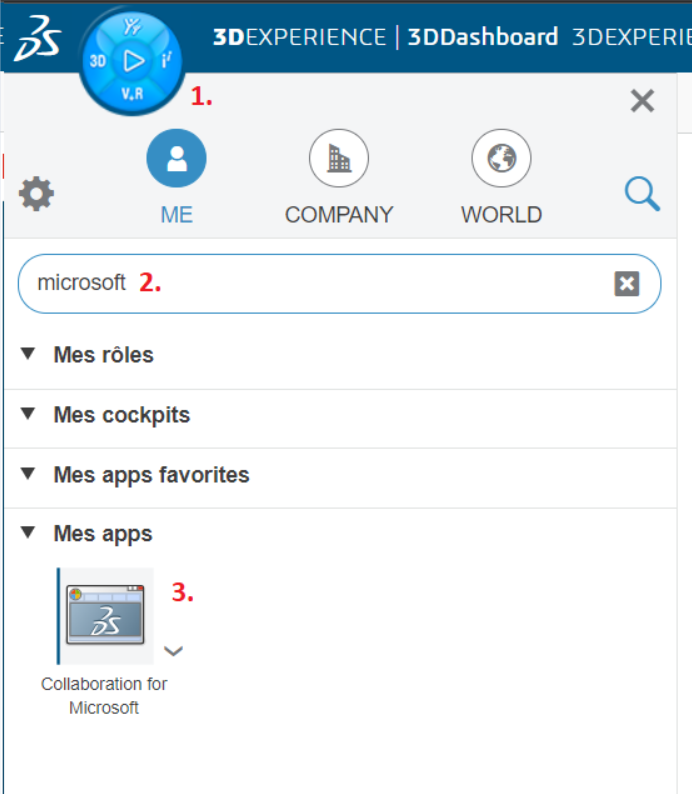
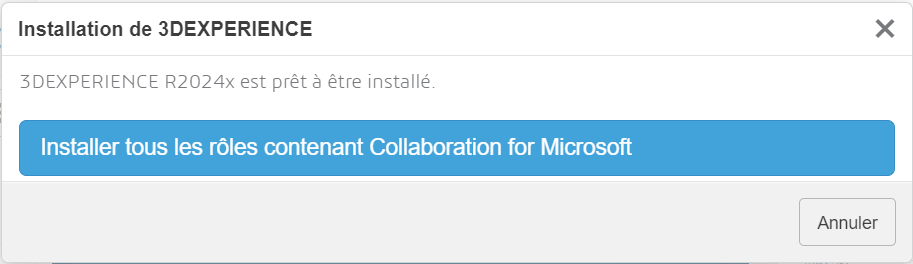
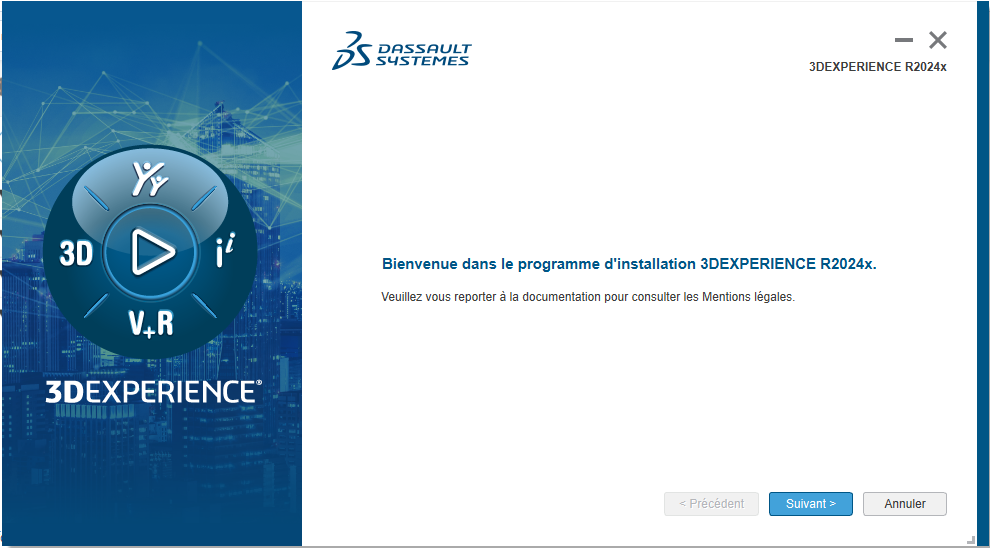
2. Click on it and follow the instructions to install the module…
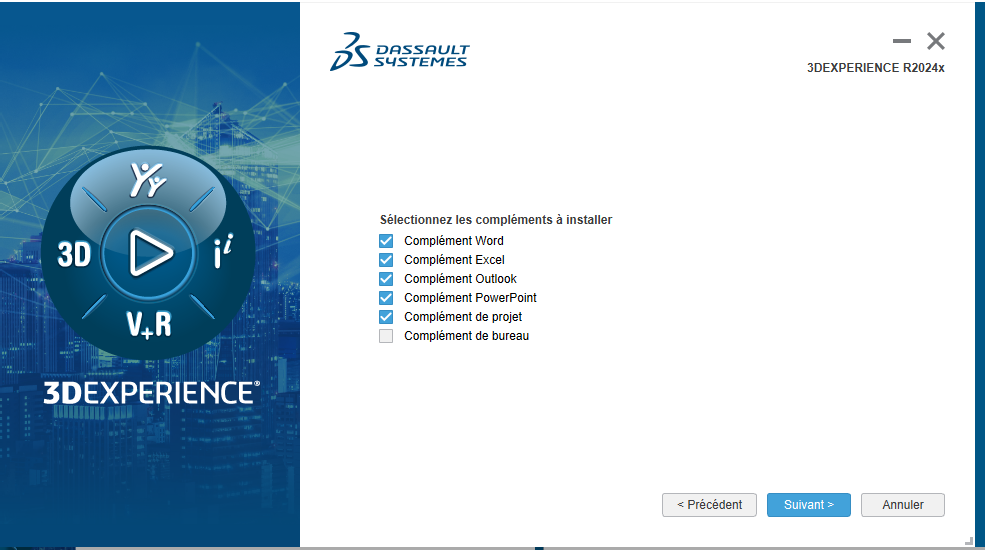
To select the application to connect to the platform, check the corresponding box.
Step 2: Import and collaboration
3. Once you’ve installed the connector, click on the module icon in your applications to launch it. Simply open a Microsoft Office document you wish to work on.
You’ll notice a new tab called 3DEXPERIENCE. 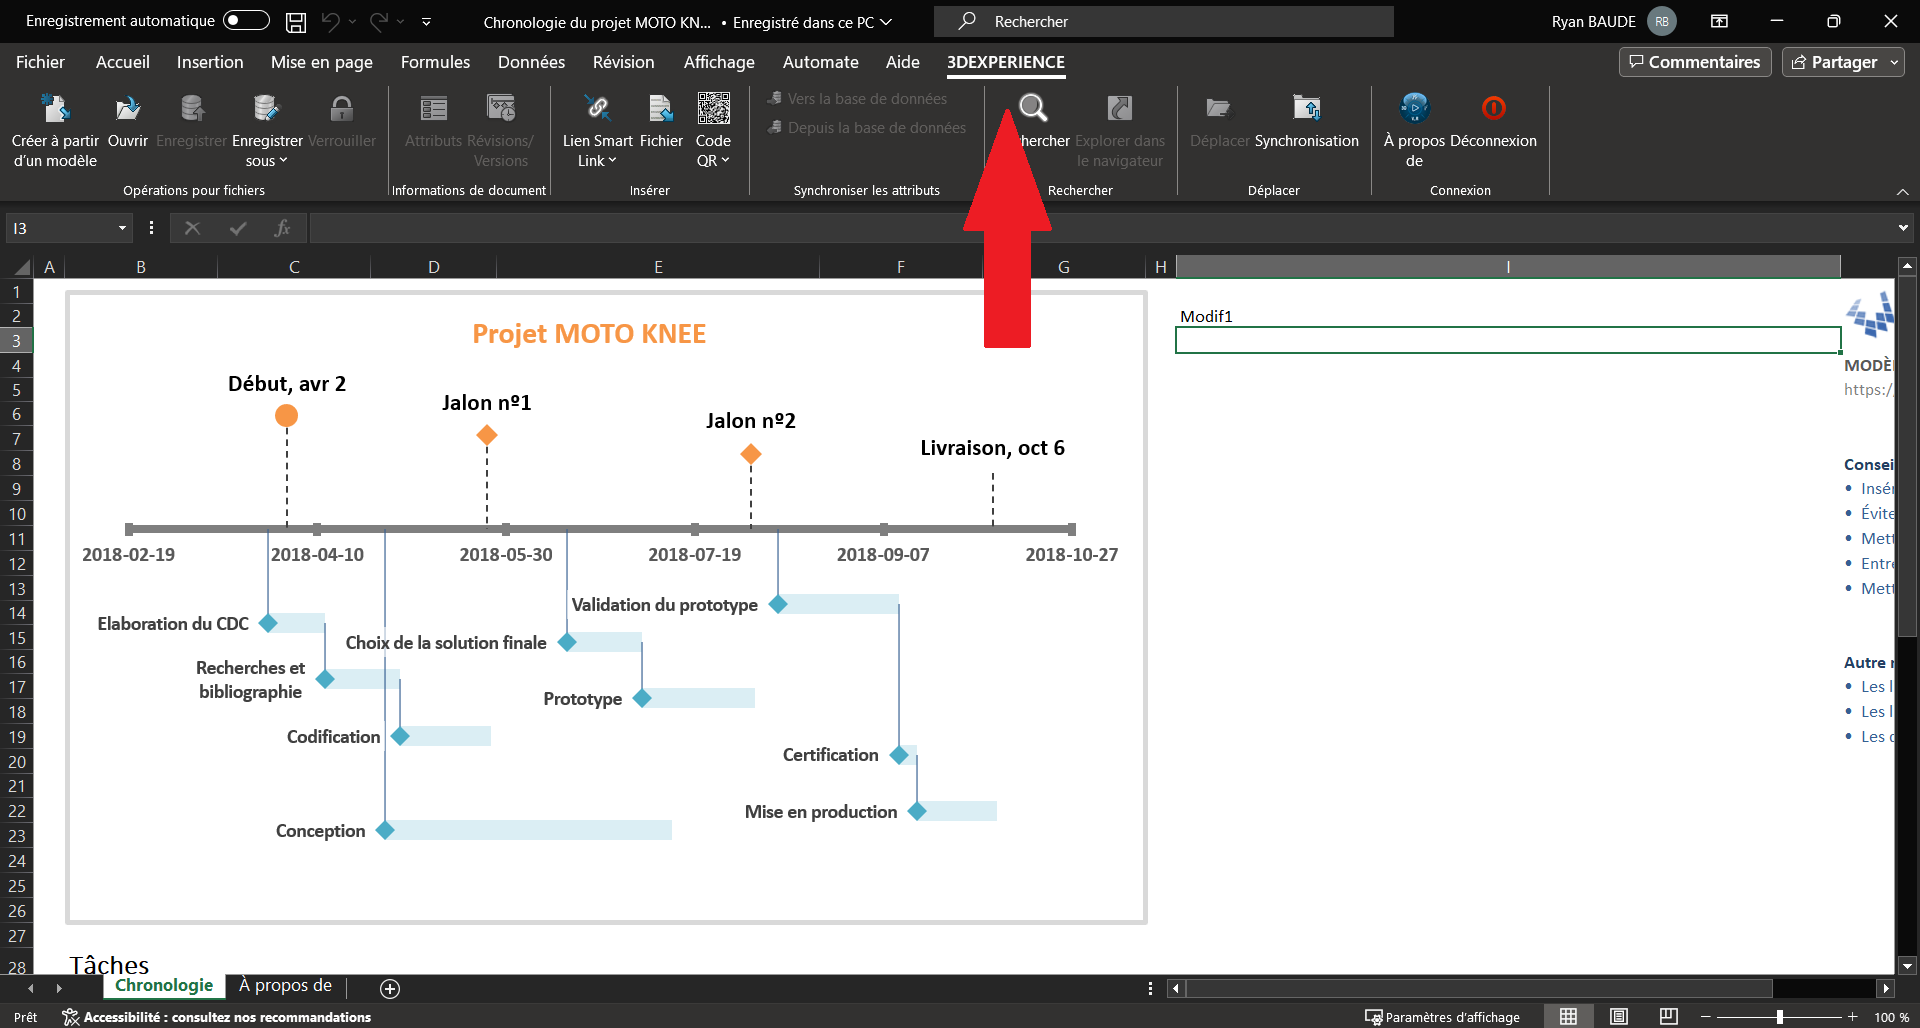
4. To save our document, click on the “Save as” icon.

As with SOLIDWORKS, you can save your file as a bookmark. Choose the “bookmark root” file location to find all your folders. You can then choose the bookmark of your choice.
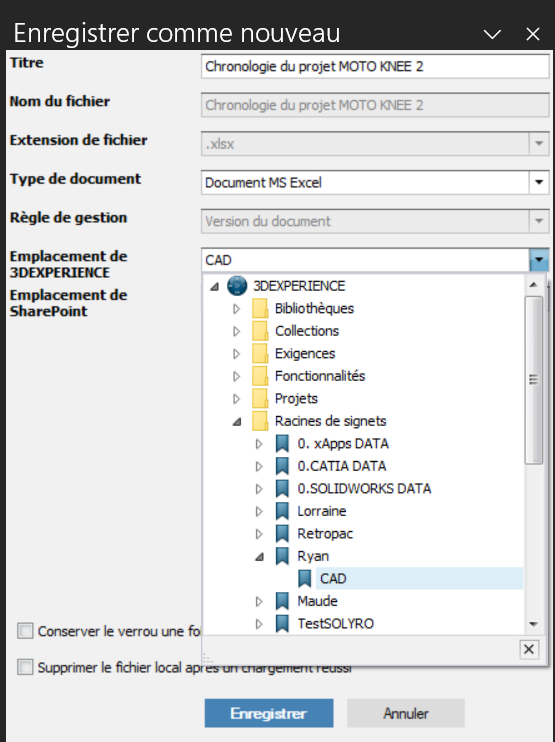
Once you’ve chosen your folder, select “delete local file after successful backup”
then click save.
The file will disappear from the screen, indicating that the backup was successful.
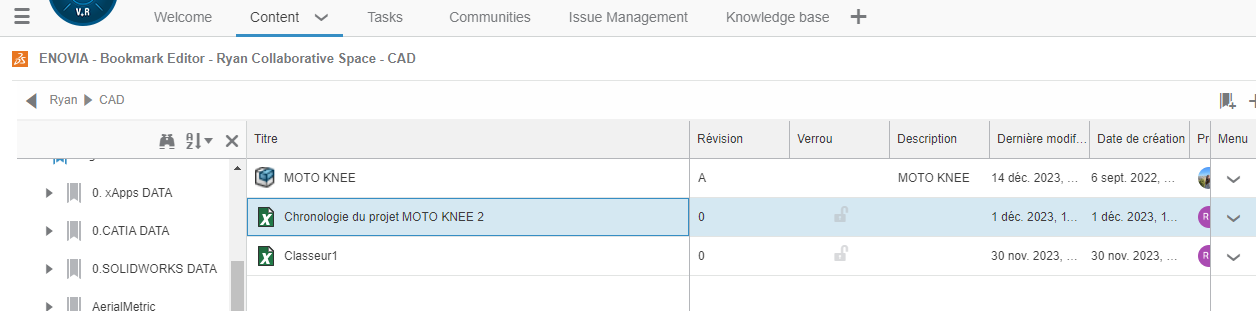
5. By going to the bookmark we previously selected, we can find the file we’ve saved.
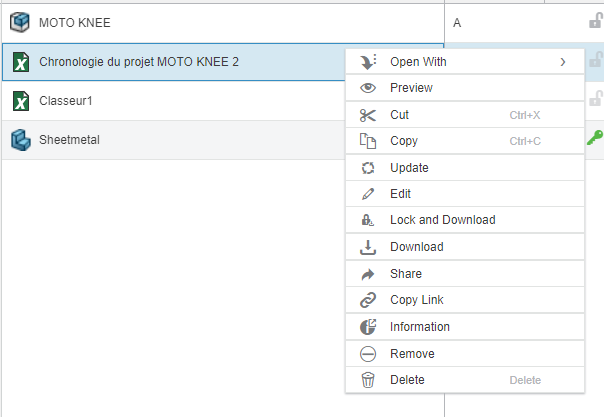
6. To make changes, right-click on the file and choose “Lock and download”.
As in SOLIDWORKS, files need to be locked before you can work on them. This will automatically open the file, allowing you to edit it as usual.
7. To save your changes, go to the 3DEXPERIENCE tab and click on “Save”.
You can also leave a comment for each recording you make. As before, you can delete the file after successful recording.
8. On the platform, you can view each modification by right-clicking on the file and selecting “Preview”.
Step 3: Manage revisions and maturity status.
Versions and revisions work in a similar way to SOLIDWORKS files such as parts or assemblies.
Each time you save a modification, a new version is created.
You can also click on the drop-down menu next to the “Save as” button and choose to save a new revision. You’ll be able to add a comment.
To keep track of all the revisions you’ve made, click on “Revisions/Versions”.


Now you know everything you need to start using your Microsoft Office files in the 3DEXPERIENCE platform!
If you require any further information or assistance, please do not hesitate to contact us at support@xdinnovation.eu.