Introduction
You’re probably used to saving your SOLIDWORKS files in Windows folders, with all the associated problems (lost references, copies everywhere, strict organization…).
3DEXPERIENCE’s approach to organizing and consuming content is different, but avoids losing references and allows you to create revisions for better iteration processes. Let’s take a look at the basics first.
There are 2 types of recording operations in SOLIDWORKS:
- Local backup (Windows)
- 3DEXPERIENCE backup (on server)
Note: when you save on 3DEXPERIENCE, a backup is automatically created in your local cache under Windows. This is used to improve performance when opening and saving.
Warning: if you choose to use the 3DEXPERIENCE backup, stop saving to the computer!
Step 1: Save in 3DEXPERIENCE
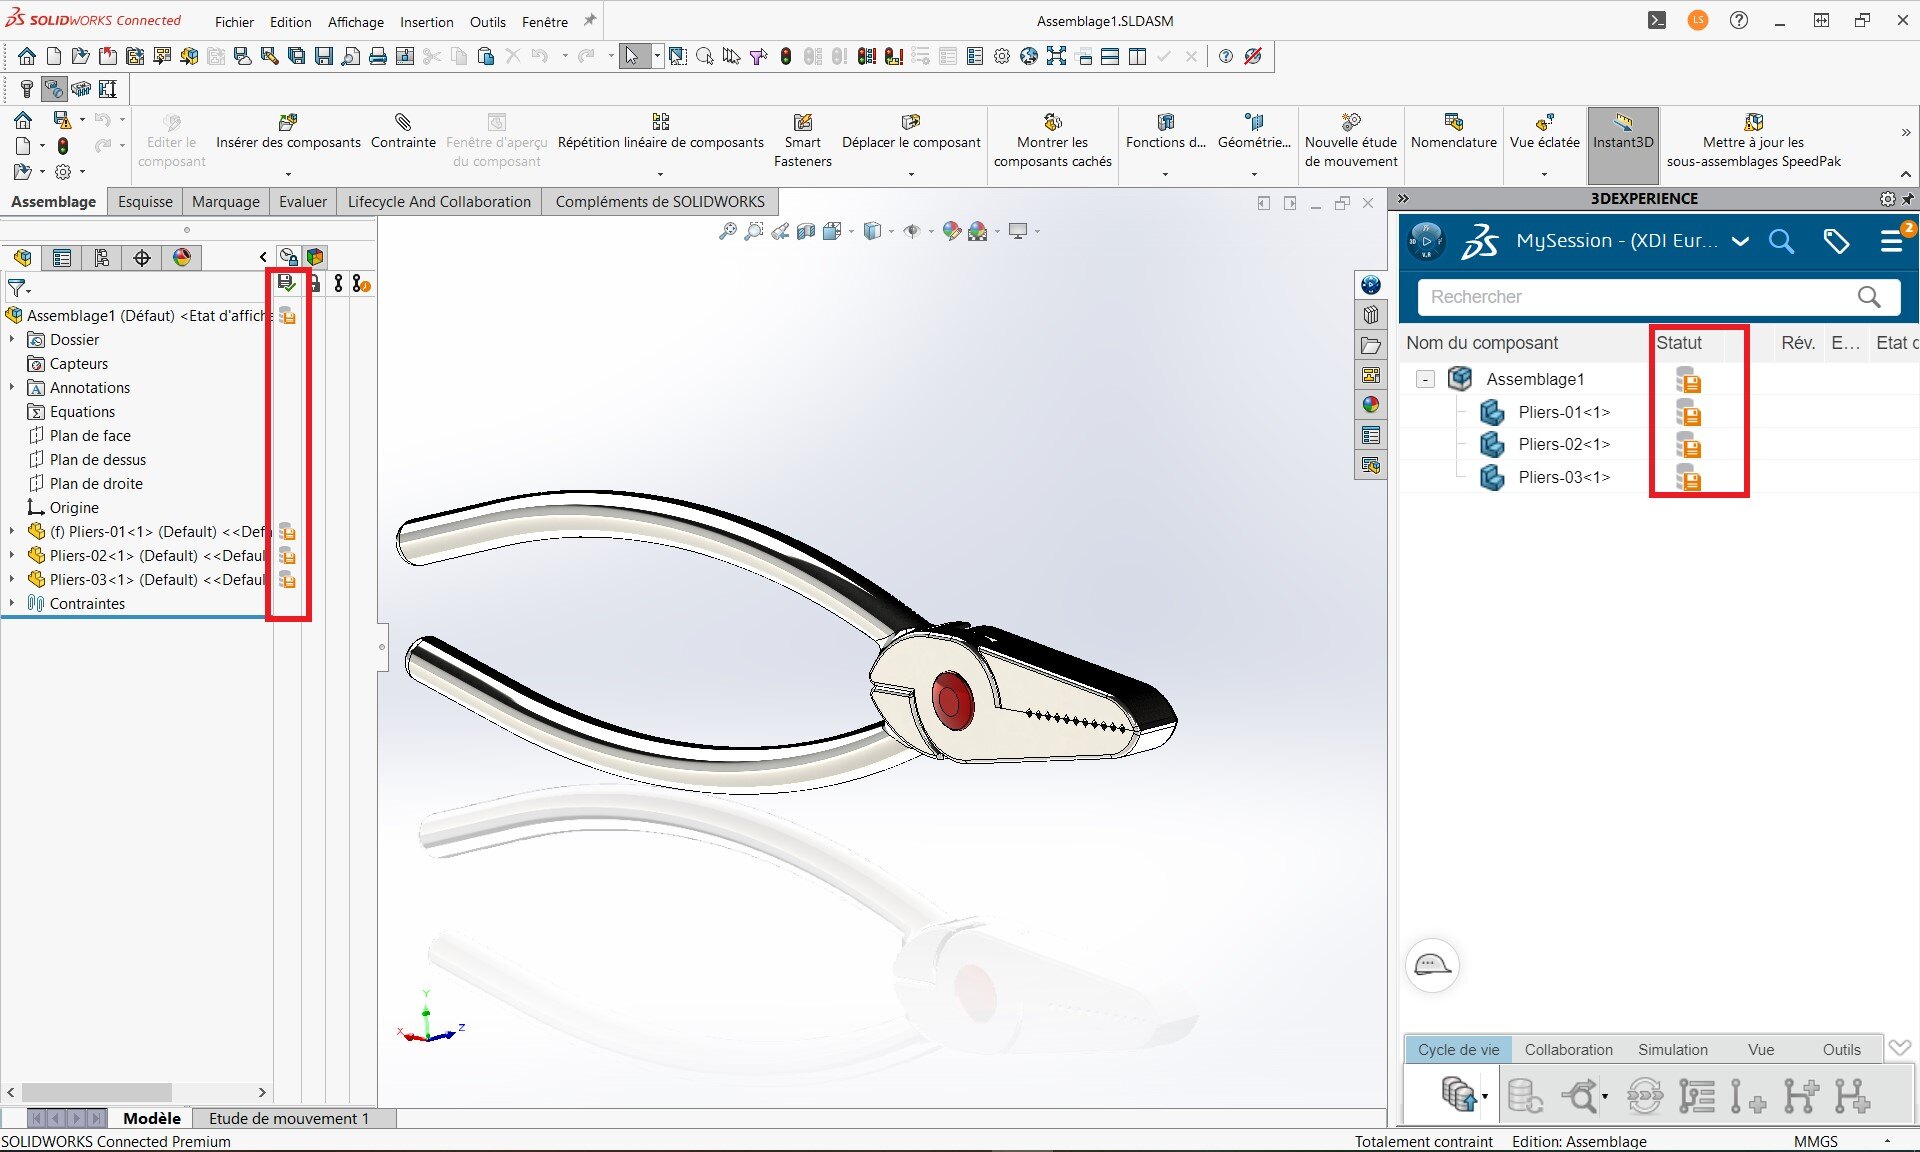
1. Check backup status
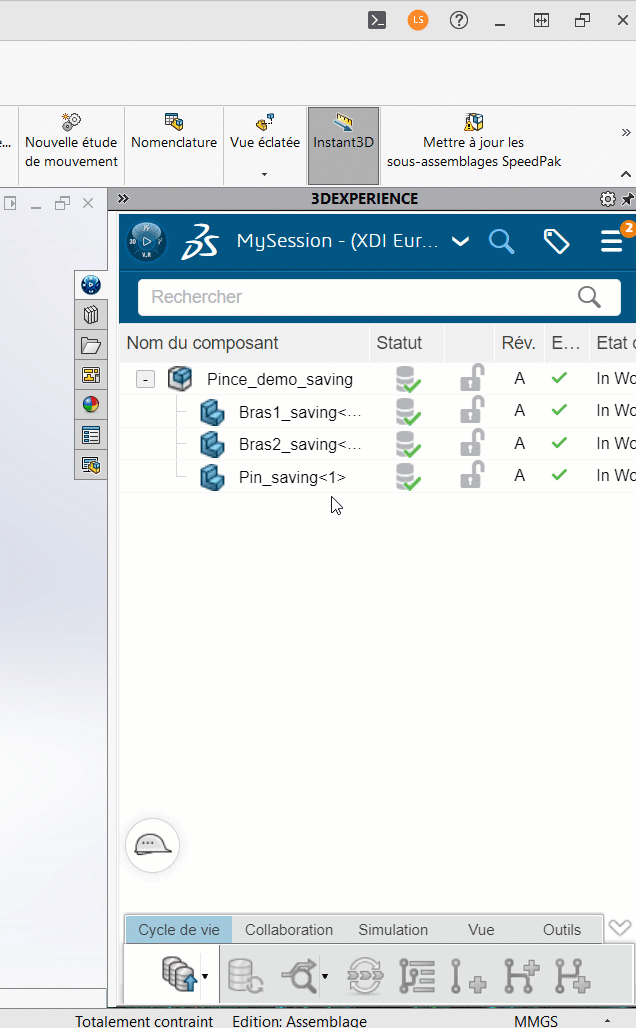
A file which has not yet been saved on 3DEXPERIENCE, or which has been modified, displays an orange save status. It is important to check this status to avoid forgetting to save. A saved part has a green status.
2. Save
- Select the “Save to 3DEXPERIENCE” command from the File menu.
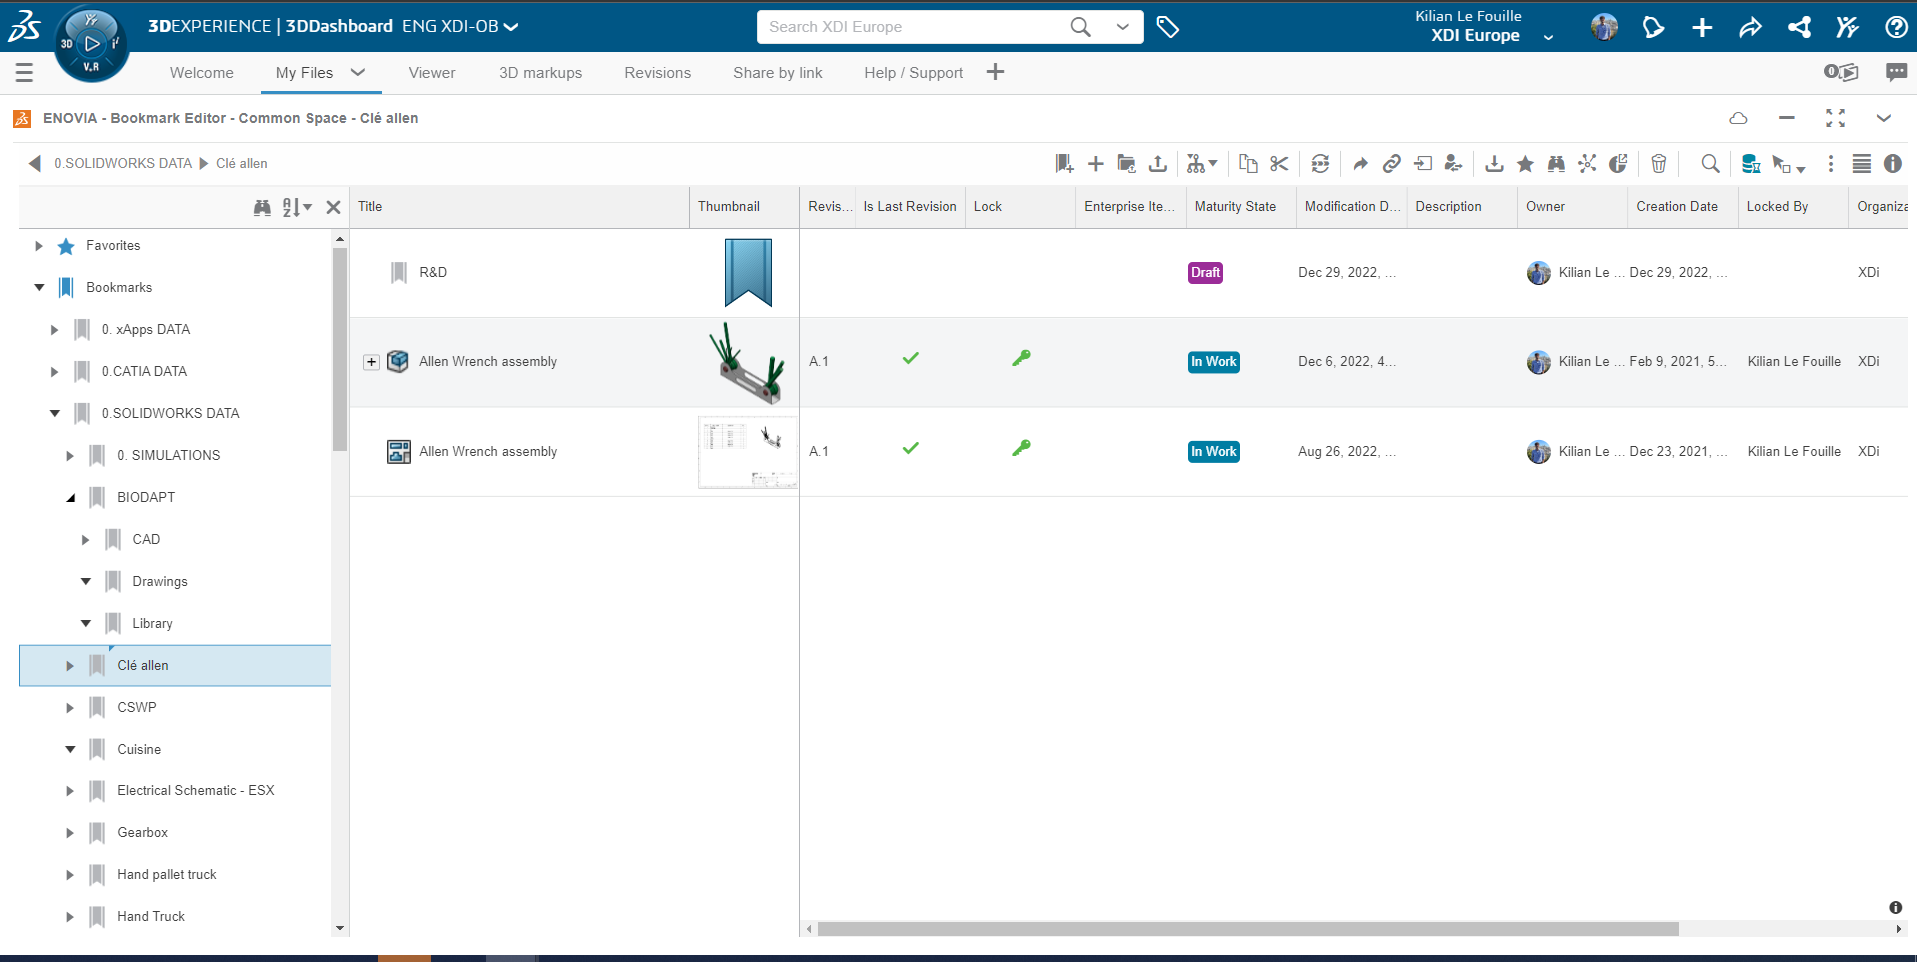
- Select the desired collaboration space. This is the server of your choice, and allows you to control who has access to the file. In general, you can keep “Common Space”.
- In the dialog box, select Choose a Bookmark in which to save the file. A bookmark is comparable to a folder.
- Make sure the status changes to green.
{% video_player “embed_player” overrideable=False, type=’hsvideo2′, hide_playlist=True, viral_sharing=False, embed_button=False, autoplay=False, hidden_controls=False, loop=False, muted=False, full_width=False, width=’688′, height=’369′, player_id=’172593702408′, style=” %}
For more information on folder management with Bookmark Editor, see our article here !
Please note: for an assembly, make sure you select “Apply to selection” to put only the top-level assembly in the folder. Then use the expand button to navigate the assembly structure in your bookmark.
The “Apply to all” option will place all components in the same folder, making organization difficult.
Try both methods for a better understanding :)
Above, an example showing only the first-level assembly and its layout. The file looks clean!
Step 2: Search and open files saved in 3DEXPERIENCE
You can always use the “Open” command to open from Windows or 3DEXPERIENCE.
|
|

You can also open it from the platform by right-clicking on the file, or by dragging and dropping it from your browser to Windows. Very handy when you have several screens!
Step 3: Best practice: locking
To save changes in 3DEXPERIENCE, we recommend that you lock the file by clicking on the open padlock icon in the FeatureManager drop-down menu.
This prevents other users from modifying the file and ensures that conflicting changes are not made simultaneously, if you are working with several people.
If you do not lock the file, saving will be blocked and SOLIDWORKS will ask you to lock it.

Tip: for detailed recommendations on how several users should work simultaneously on the file, please refer to the section of the Adoption Guide entitled “Working with several users with SOLIDWORKS”.
Step 4: Use the search bar
Searching through folders and assembly structures can be very time-consuming. Sometimes, using the search bar is much faster!
You can search directly from SOLIDWORKS :
Tip: use shortcuts to filter results for parts only (swp: ), assemblies only (swa: ) or drawings only (swd: ).
Example: swp: vis chc