Introduction
We all want our problems solved quickly and accurately. Communication is key, so be sure to send us all the information we need to help you.
And we’ve got some good news: SOLIDWORKS has packed everything we usually need into a single tool – SOLIDWORKS RX.
Step 1: Open SOLIDWORKS RX
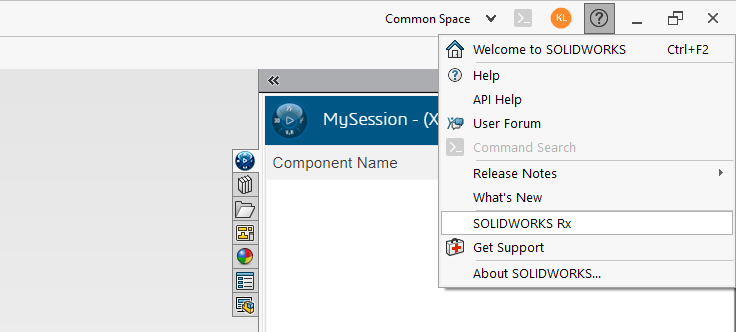
If SOLIDWORKS opens, you can open the SOLIDWORKS RX tool from the “?” help icon in the top right-hand corner.
In some cases, you can’t even open SOLIDWORKS, or it can’t connect. You can still send us important information with SOLIDWORKS RX, so run it from here:
C:\Program Files\Common Files\SOLIDWORKS Shared\2023\sldrx\sldrx.exe
Just make sure you change the year to match your SOLIDWORKS version.
Step 2: Capturing the problem
Among all the tabs in this tool, go to “Problem Capture”.
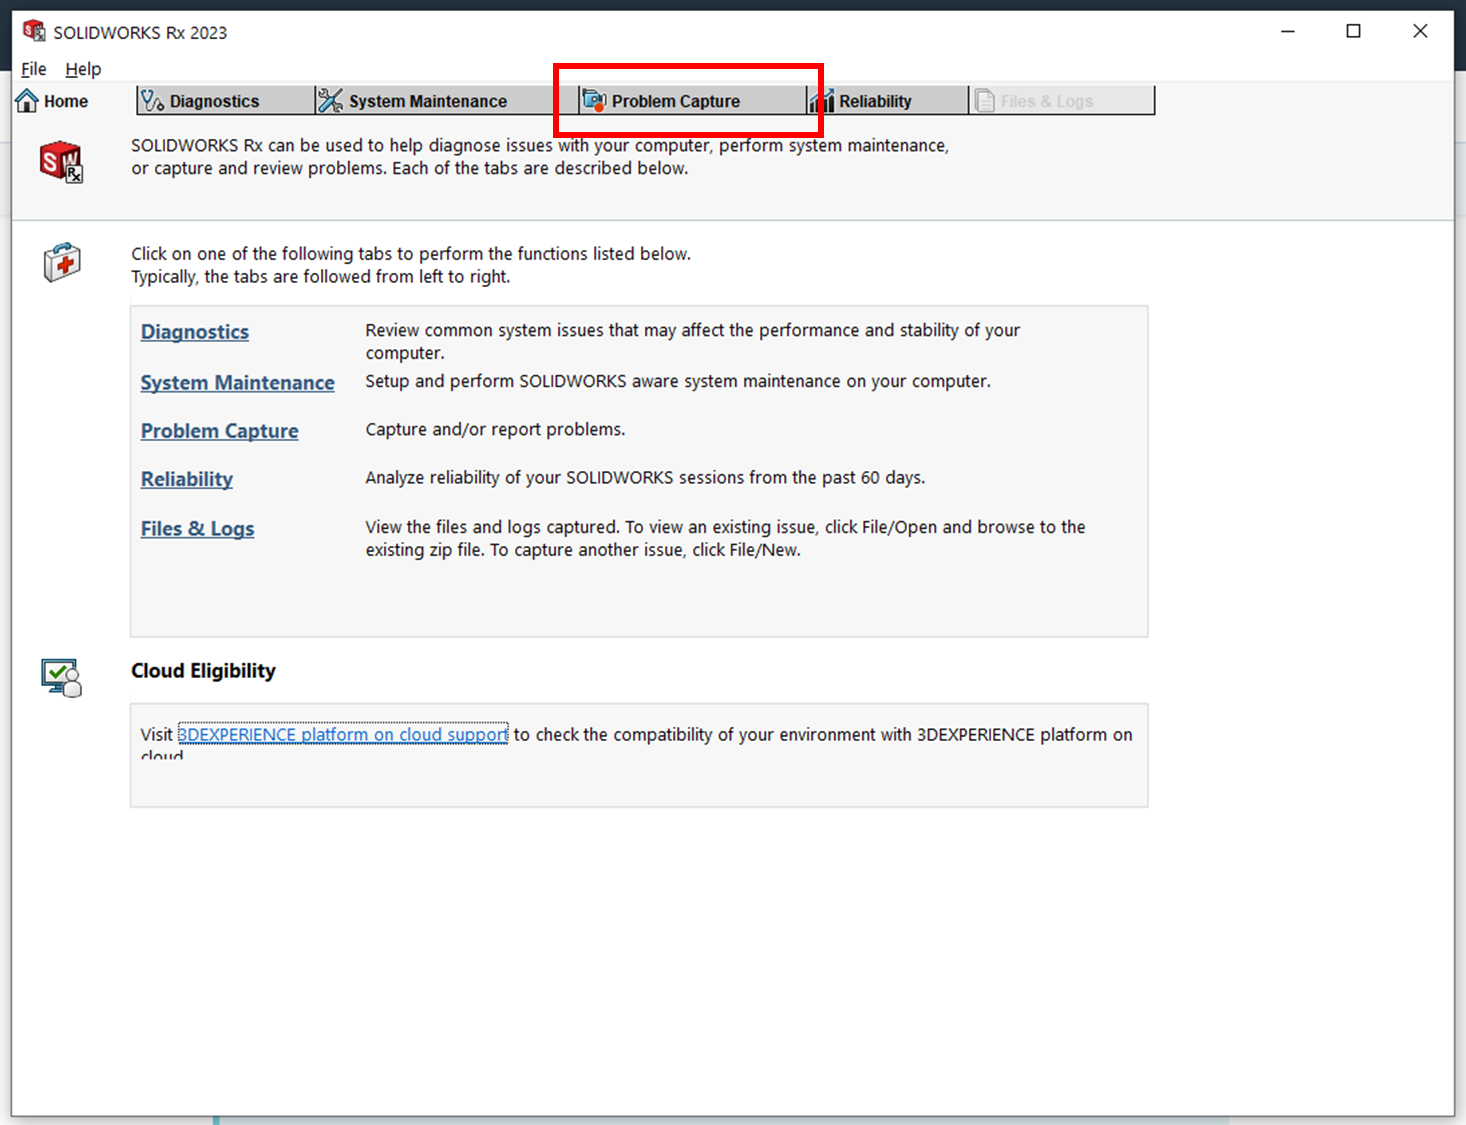
By opening the Problem Capture tab, the tool will automatically gather system information.
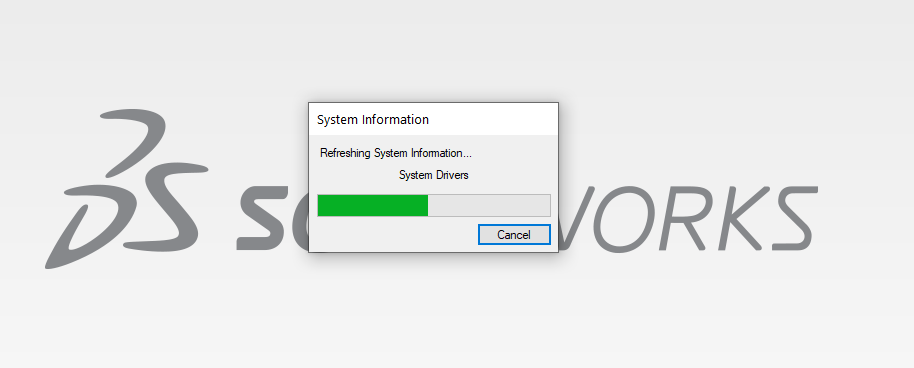
Tip: just leave it in the background, you don’t need to wait for it to finish.
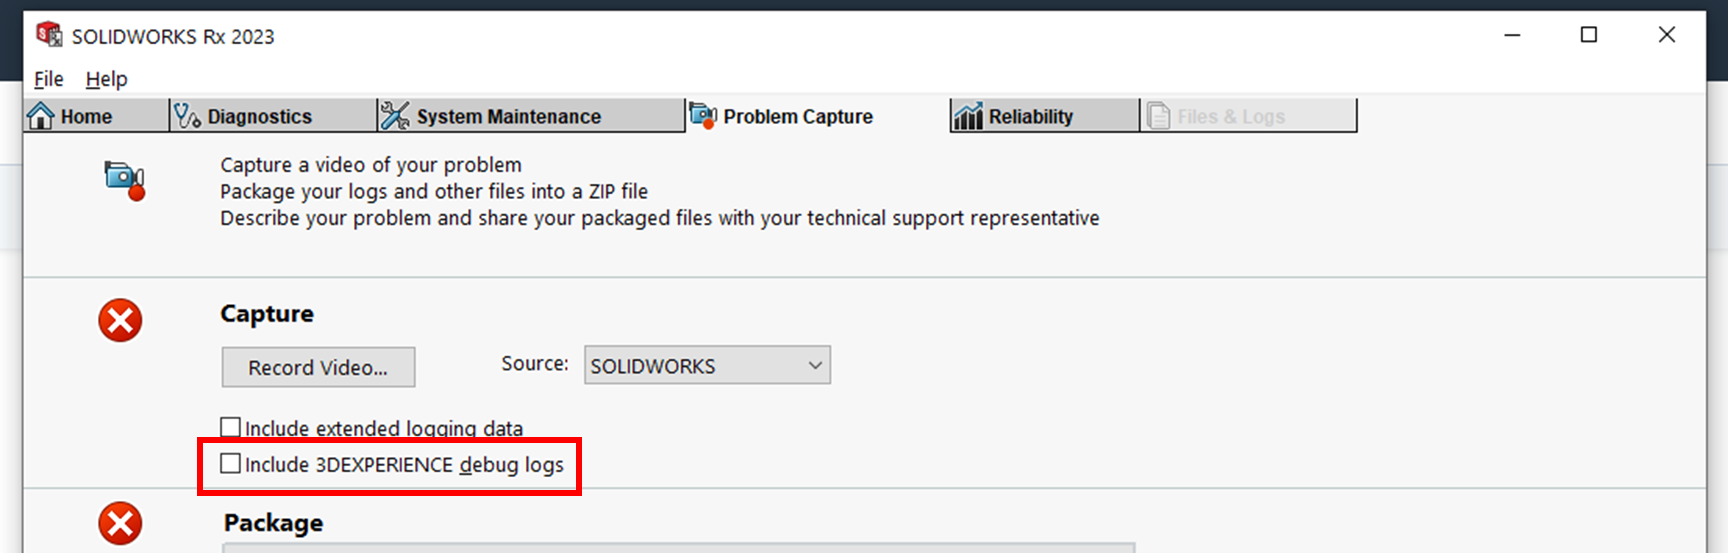
Capture
The capture tool lets you make a video recording of the incident in progress. If a picture is worth a thousand words, imagine the value of a video!
When support analyzes the problem, using video, they can gather information about the steps you’re taking, the SOLIDWORKS environment and other contextual clues you might not even have considered.
If your problem concerns 3DEXPERIENCE, make sure you select the “Include 3DEXPERIENCE debug logs” option.
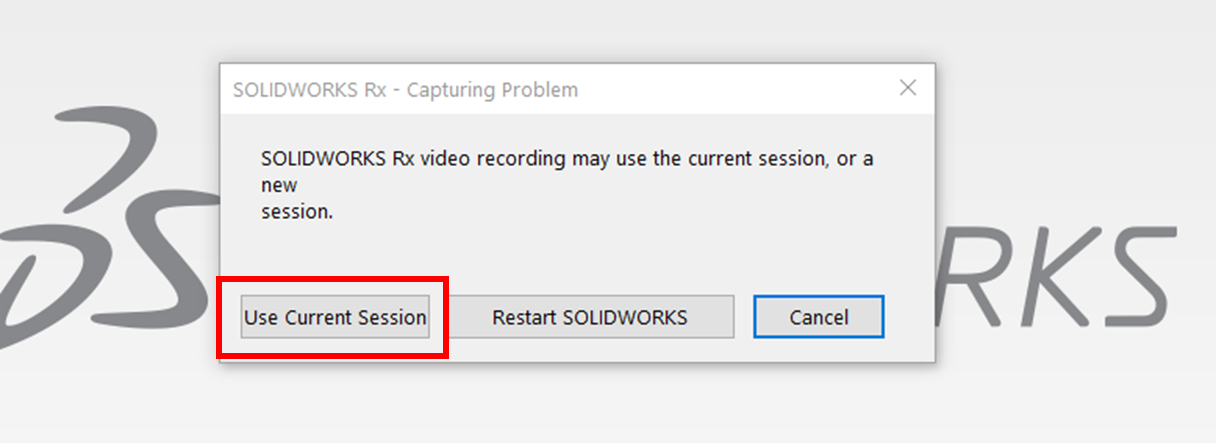
You will then have the option of using your current session or restarting SOLIDWORKS. In general, you can use your current session.
You will then be presented with the recording tool.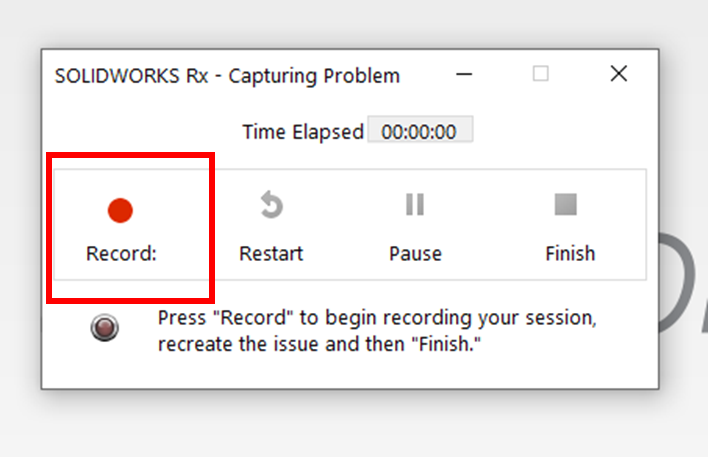
Press the “Record:” button to start recording, then perform the actions that cause the problem you are experiencing.
Once the problem has been observed in the recording, you can select the “Finish” button to return to SOLIDWORKS Rx.
Pro tip: RX can record your entire screen, not just SOLIDWORKS. So if you need to record the Web platform for 3DEXPERIENCE, your Windows files or any other application, you can!
Step 3: Packed to the brim!
In the “Package” section, you can see a summary of all the information that will be included in the resulting ZIP file, and add any additional files you wish to include.
Select the “Package files” button in SOLIDWORKS Rx to generate the .ZIP file to be sent to us.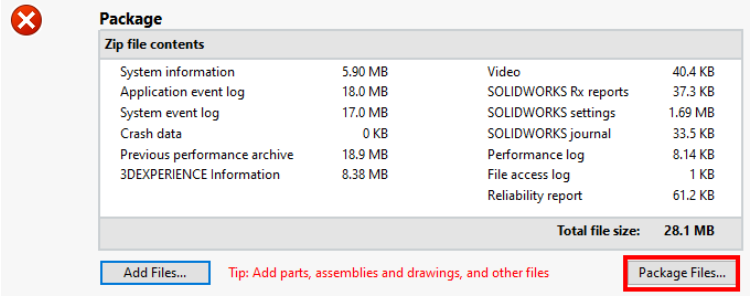
Step 4: Send it to Ohmycad
The final step is to send this ZIP file to us at support@ohmycad.com or to your dedicated Customer Success Manager.
We will analyze the problem and provide you with a solution, or open a service request (SR) with the SOLIDWORKS support team if necessary.
Conclusion
To reduce the amount of communication back and forth between you and support, be sure to send us this file when you report a problem.