Prerequisites
First, create your automatic conversion rules as described in this article.
Why personalize the name?
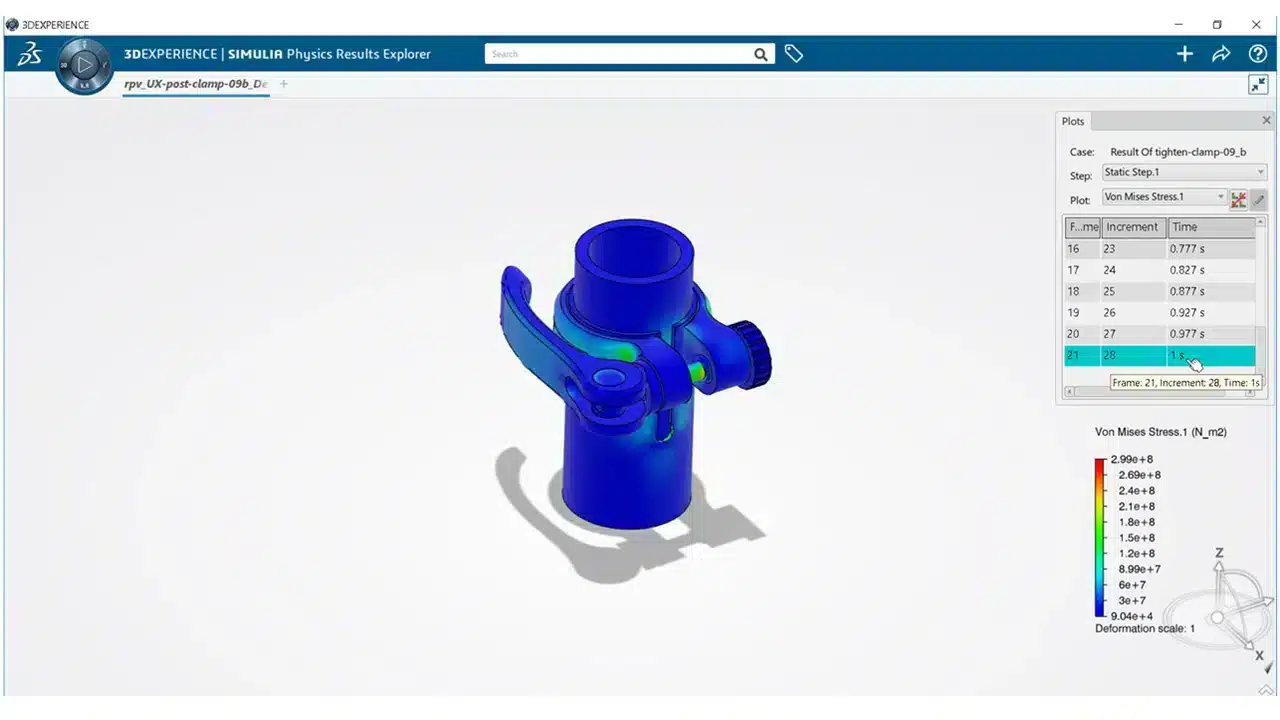
By default, exported files are named “Title-Name-Revision”.
In this example, the parts for an assembly have been exported to STEP.
This name is relatively long and difficult to read. Its customization allows you to display only the elements you need!
Step 1: Create the naming rule
Create the naming rule in“Platform Management”‘s“Derived formats management“.

Choose your attributes (title, description…) for each file type (document, part, drawing).

Step 2: Reload the cache
Go to“Deploy configuration” to reload the cache and ensure the rule is applied.
Step 3: Generate automatic export and download
Once you’ve created your export name, generate your automatic export according to the rules you’ve defined beforehand (export generated on save or by change of maturity status, for example).
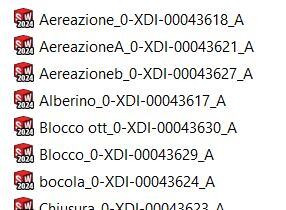
In“Bookmark Editor“, go to your file’s“Derived outputs” and download the folder (in the case of assemblies) or the file exported directly (in the case of parts and drawings).
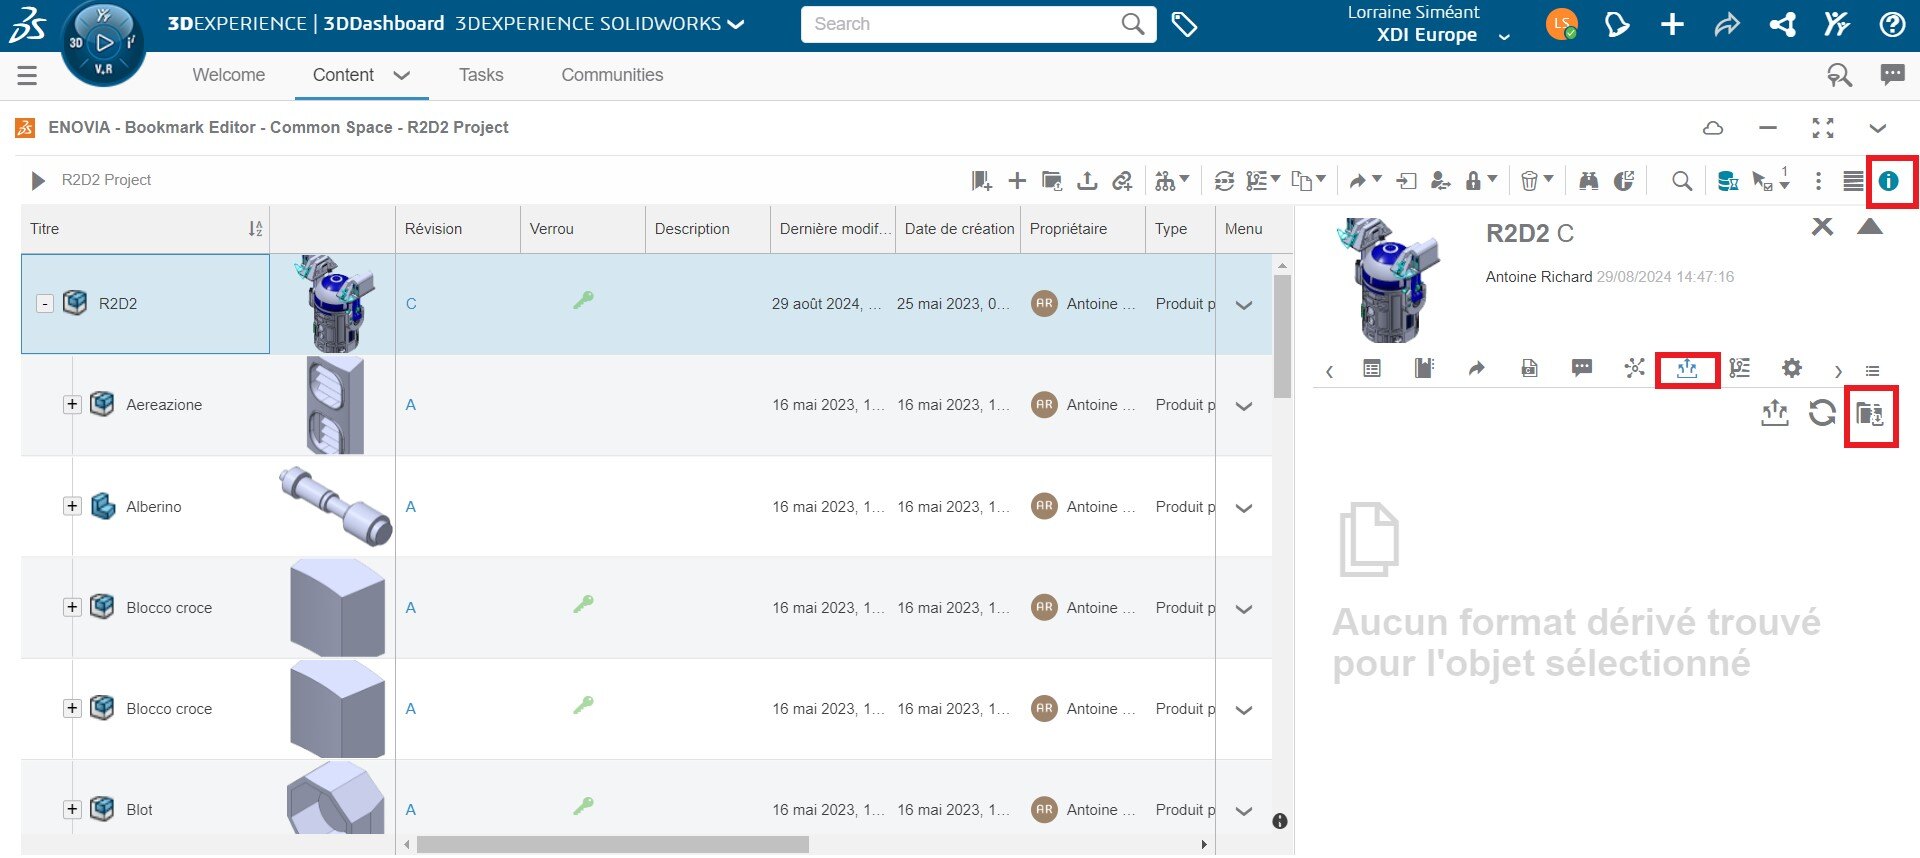
Your exported file now automatically bears the name you gave it!
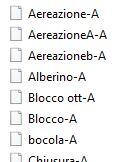
In our example, the name assigned was “Revision-Title”, which is found once the STEP-converted parts have been downloaded.
Conclusion
Customizing the name of your exported files makes it easy to find the information you need. This is particularly advantageous for assemblies!
Need help?